Add Depth & Texture to Your DIY Linen Clothing
- Leah Widdicombe
- Aug 4, 2025
- 4 min read

Are your handmade garments falling a little bit flat and feeling just a wee bit boring?
Let's chat about how you can turn ANY handmade garment into a textural masterpiece!
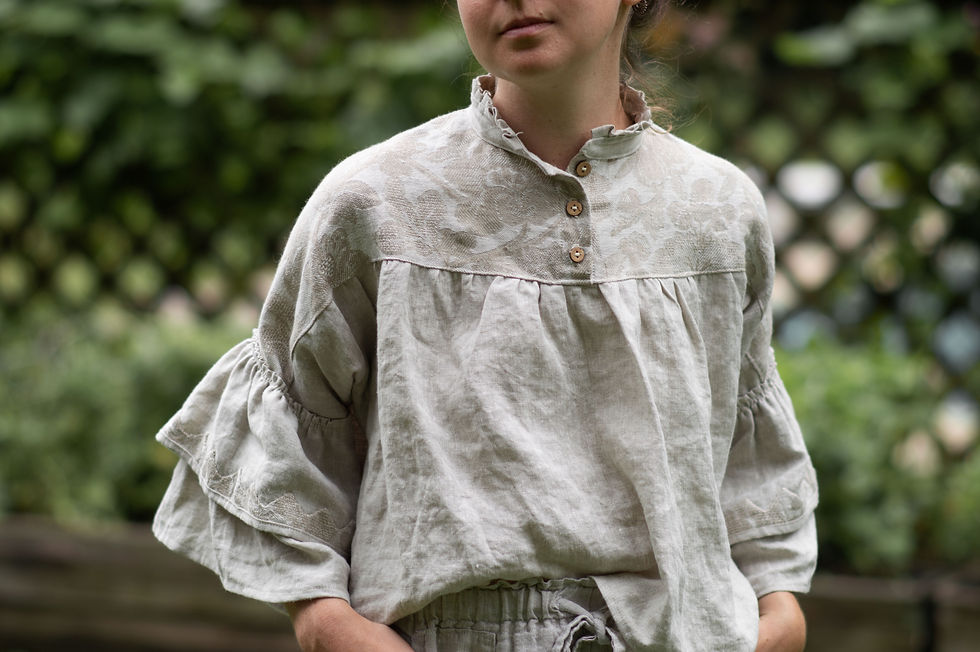
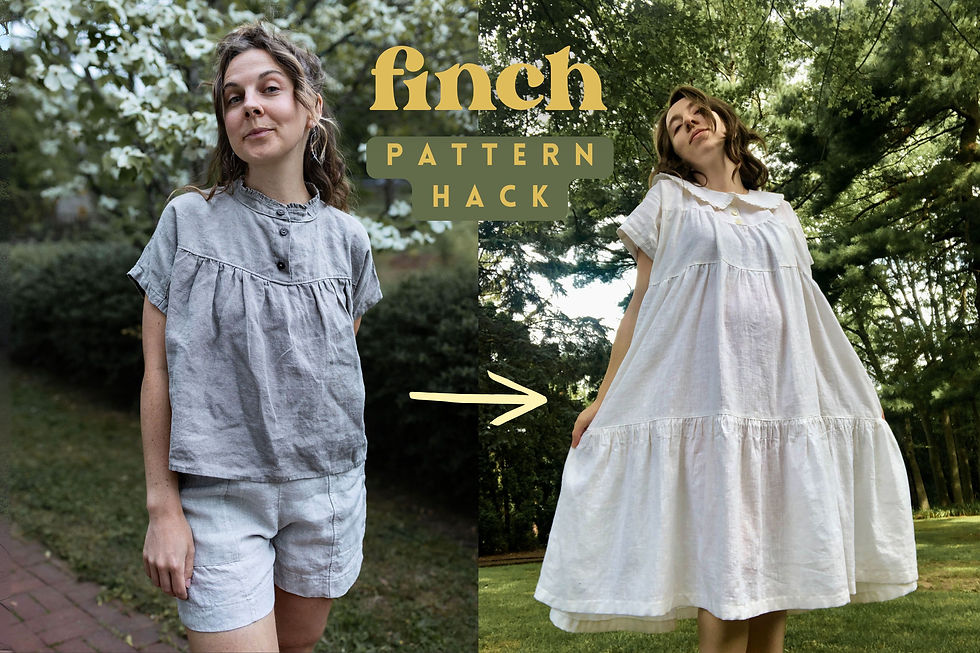
For example, my Finch top sewing pattern may be simple to sew, but it doesn’t have to be plain. It's like a blank canvas—something you can personalize, hack, and spice up to your heart’s content. Whether you're stitching your first linen blouse or adding to your me-made closet, the Finch (and all of my patterns, really) were made for creative twists.
Today I’m sharing three of my favorite ways to add tactile, fun, handmade charm to your linen garments... PLUS tutorials to help you try them for yourself! 🙌
These tricks are super beginner-friendly and work with any pattern in the shop… but they're especially fun on Finch since it has so many sleeve and collar variations to add them to.

1. Appliqué a Handmade Fabric Trim
This is one of those finishing touches that makes people go, “Wait—did you make that?!"
It’s textural, sculptural, and surprisingly simple. You can use it on sleeves, hems, yokes, or anywhere you want a little visual intrigue.
🧵 What you’ll need:
A strip of fabric
Fusible interfacing
Scissors + ruler
Pencil or fabric pen
An iron
Thread (embroidery or machine thread) and needle
1️⃣2️⃣3️⃣ Step-by-step instructions:
✨ Here's how to do it! (Click the little arrow to drop down)
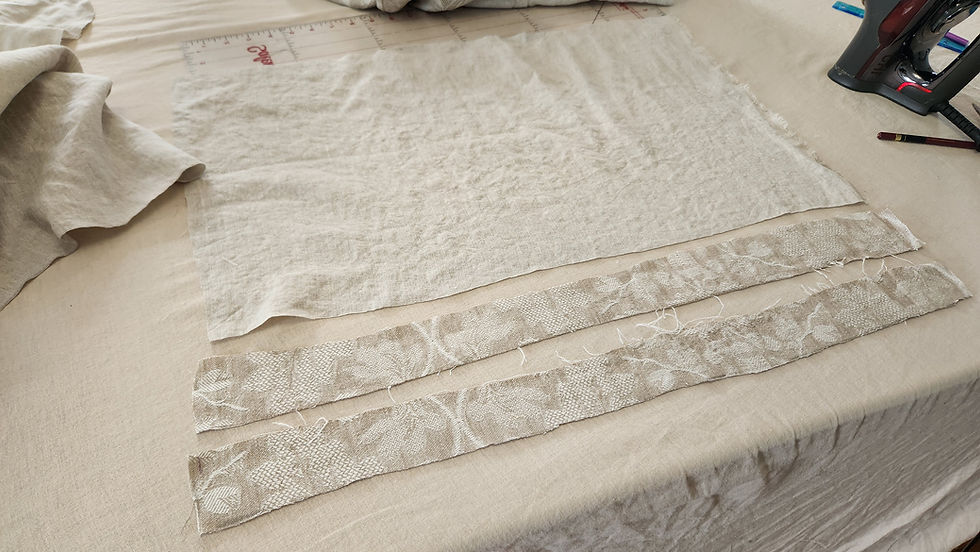
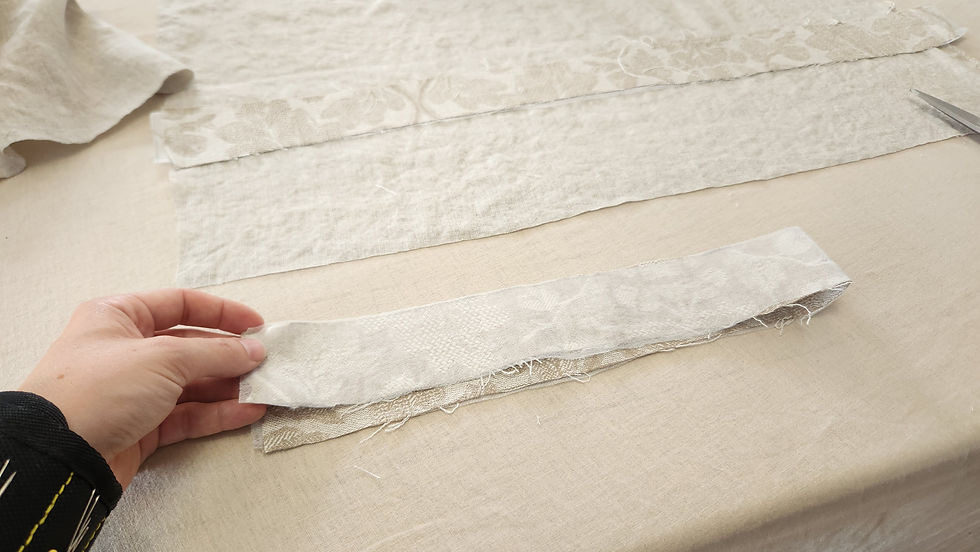
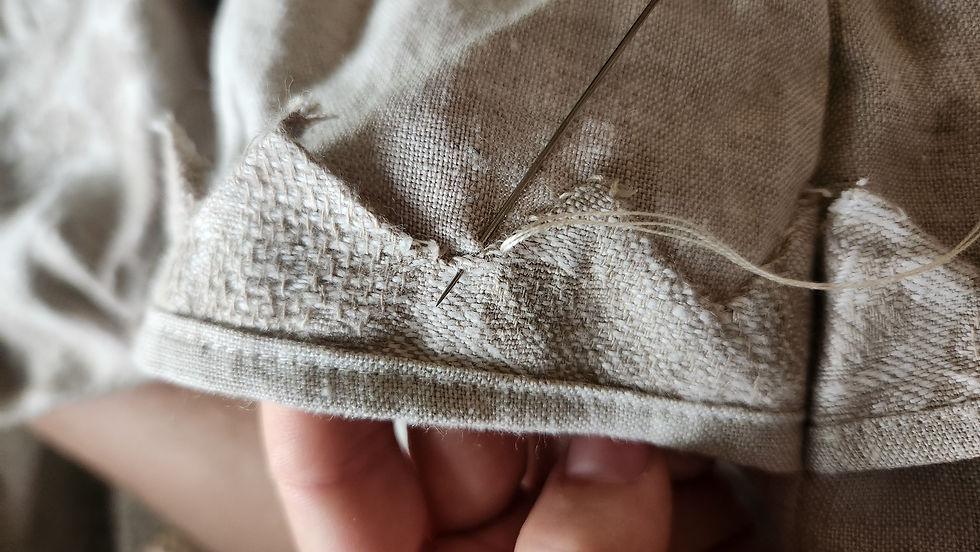
1. Cut your fabric strip + interfacing
Length: It should be as long as the seam or area that you will be applying it to (including any seam allowances).
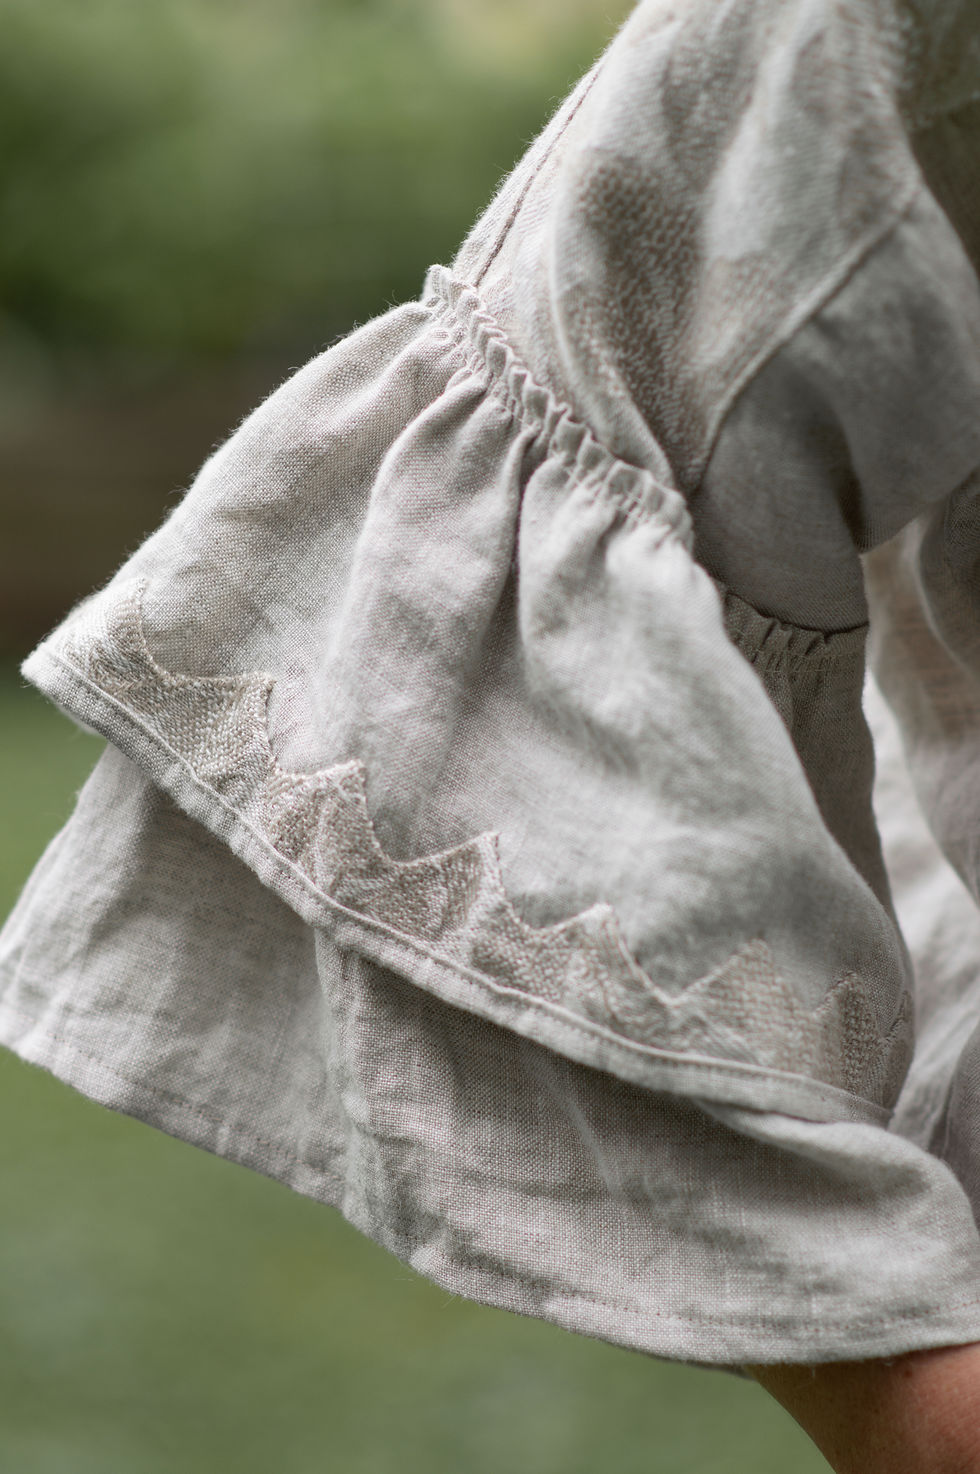
Height: depends on your design! Mine is getting nestled into the hem seam of my ruffle sleeve on the FINCH top. I cut mine 1.5” tall for a zig-zag hem detail, and the visible result was about 1 1/8” tall after folding and sewing.
I cut 2 strips of the fabric and 2 strips of the interfacing (one for each sleeve).
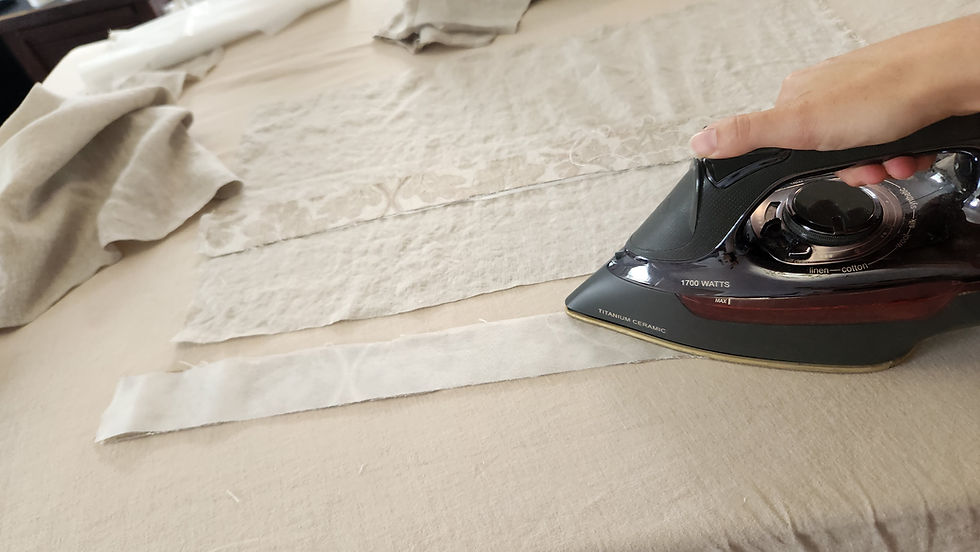
2. Fuse the interfacing to the wrong side of your fabric (glue dots facing the fabric, not the iron, unless you’re into heartbreak).
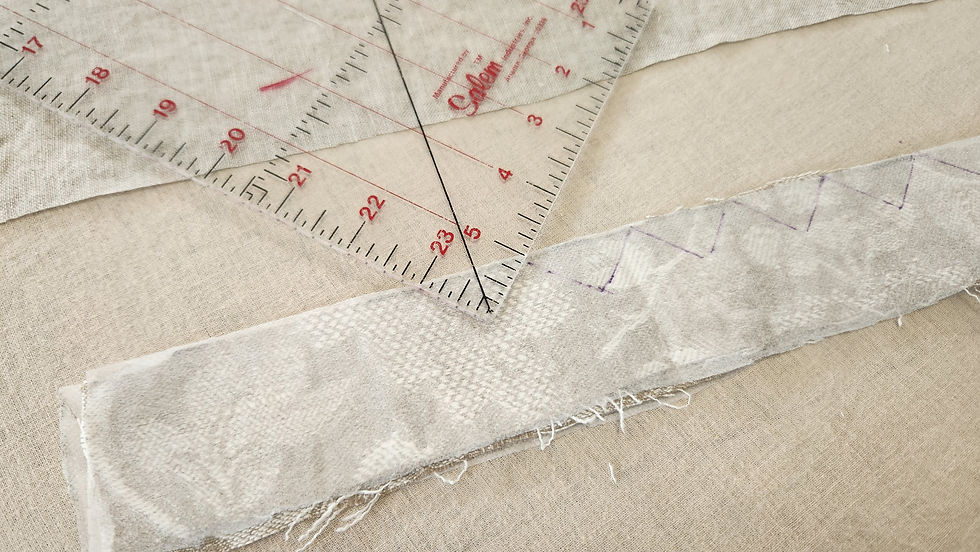
3. Fold the strip in half, lengthwise, RIGHT sides facing each other. This will cut the drawing and cutting time in half in the next steps.
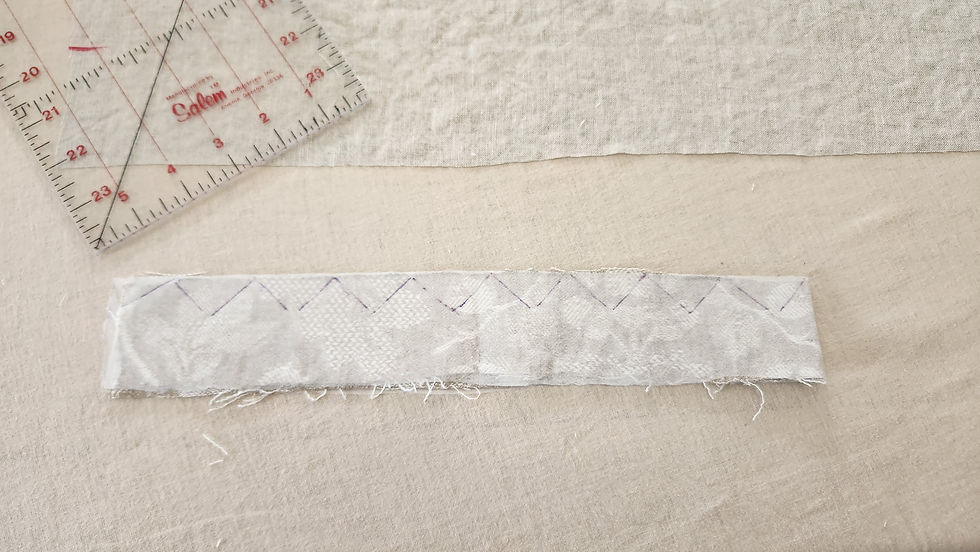
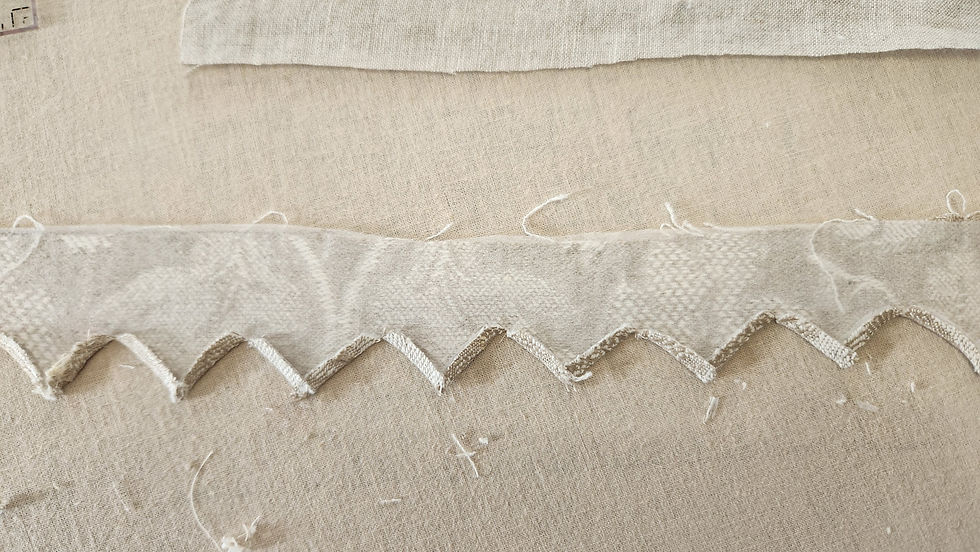
4. Draw your edge design.
I made a zig-zag using the 1” mark on my right-angled ruler.
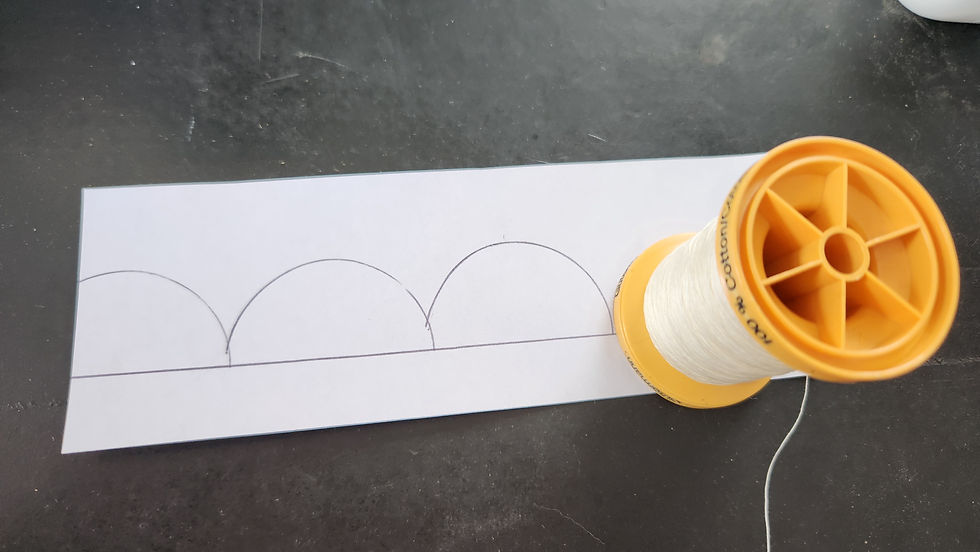
OR you could make a scalloped edge using the half-circle of a spool of thread!
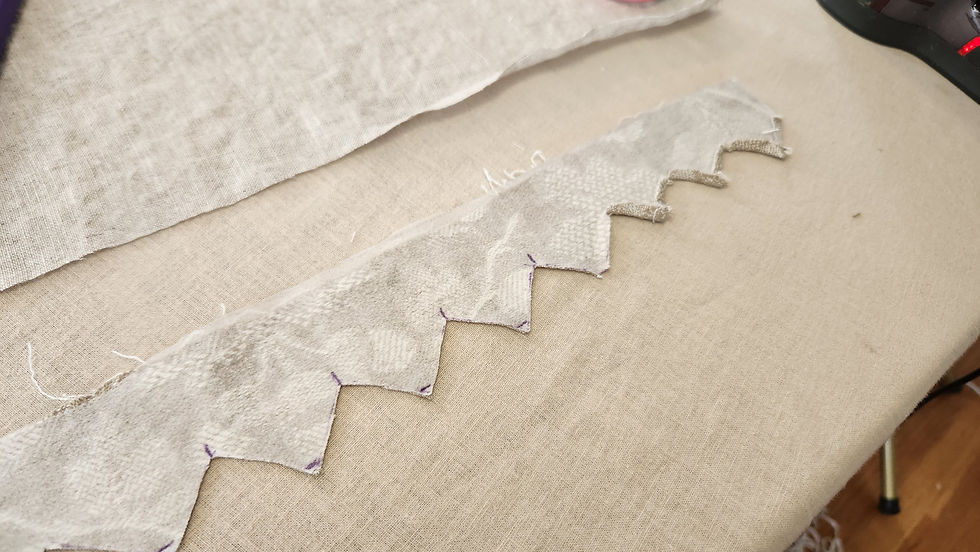
5. Cut away the negative space.
If you are doing the zig-zag like me, then use your scissors to do a small 1/8” snip into the fabric at all the inner right angles, and another snip perpendicular across the very tip of each triangle.
If you are doing a rounded scalloped edge, use your scissors to do a small 1/8” snip into the fabric at all the inner points where the semi-circles meet at their sides, and then make a bunch of tiny 1/8” snips around the edges of each curve. This will help it all fold under more smoothly in the next step.
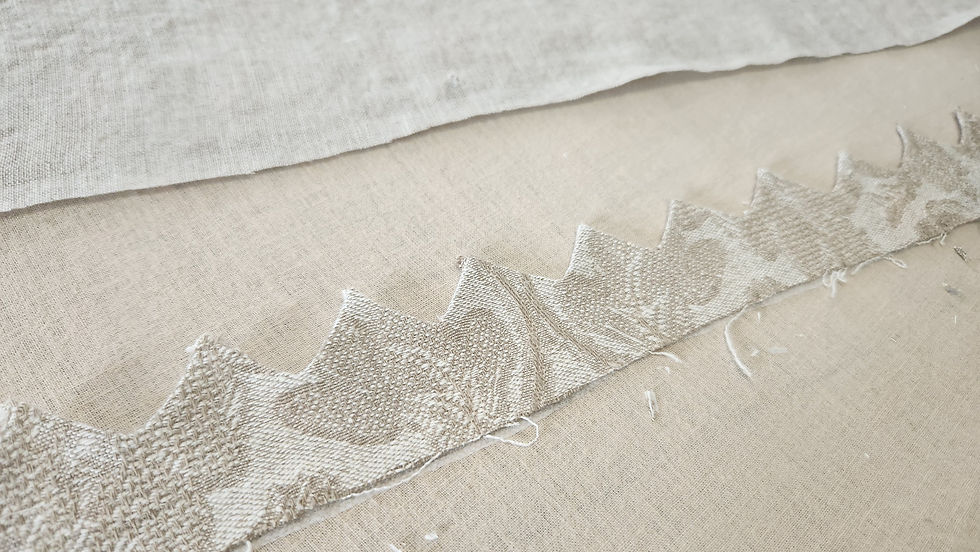
6. Press the edges under by 1/8” with your iron.
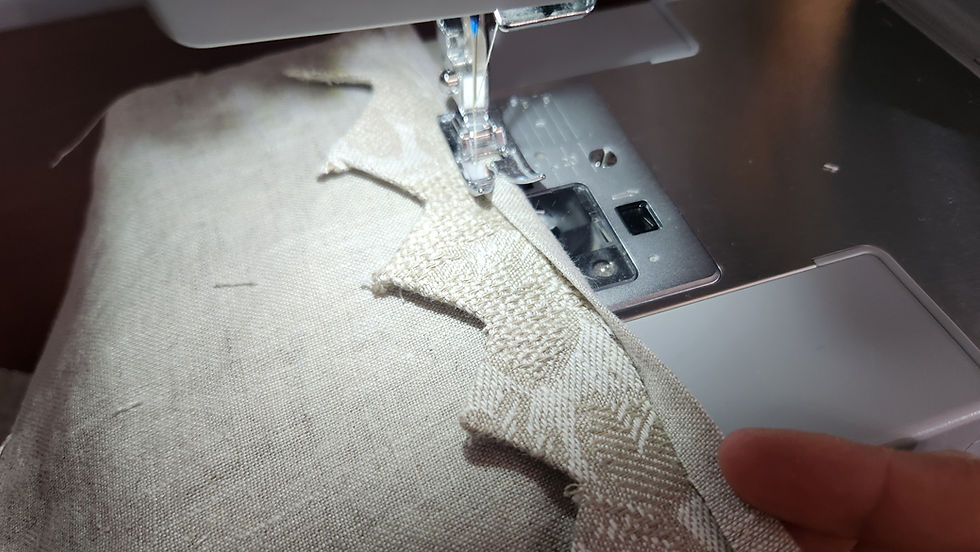
7. Nestle your appliqué into a seam (if that’s your plan), then sew the seam like usual.
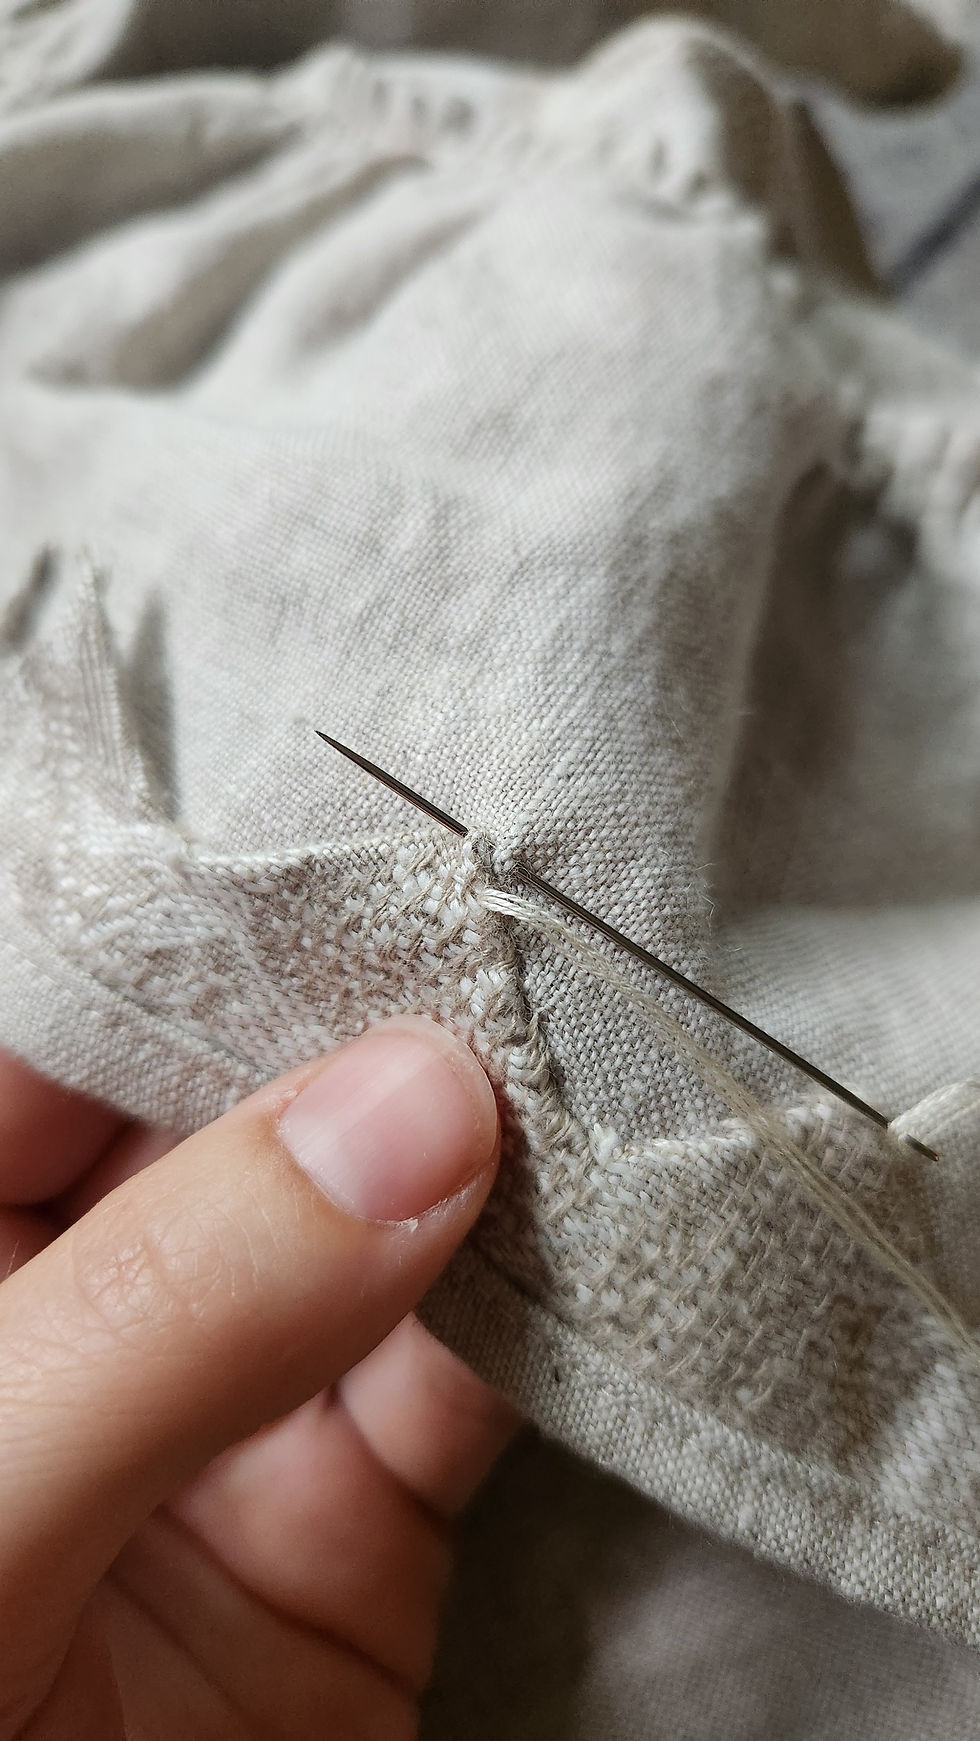
8. Secure the rest of the applique by hand (ladder stitch) or machine (a narrow, short zig-zag or a topstitch).
9. Give it a good press and enjoy your work of art!
🌟 Psst—this exact technique looks gorgeous on the ruffle sleeve hem of the Finch top!
2. Add Ruffles to Collars or Seams
Ruffles keep coming back into style, century after century, across so many cultures—and for good reason. They're playful, romantic, and look shockingly pro when done right.
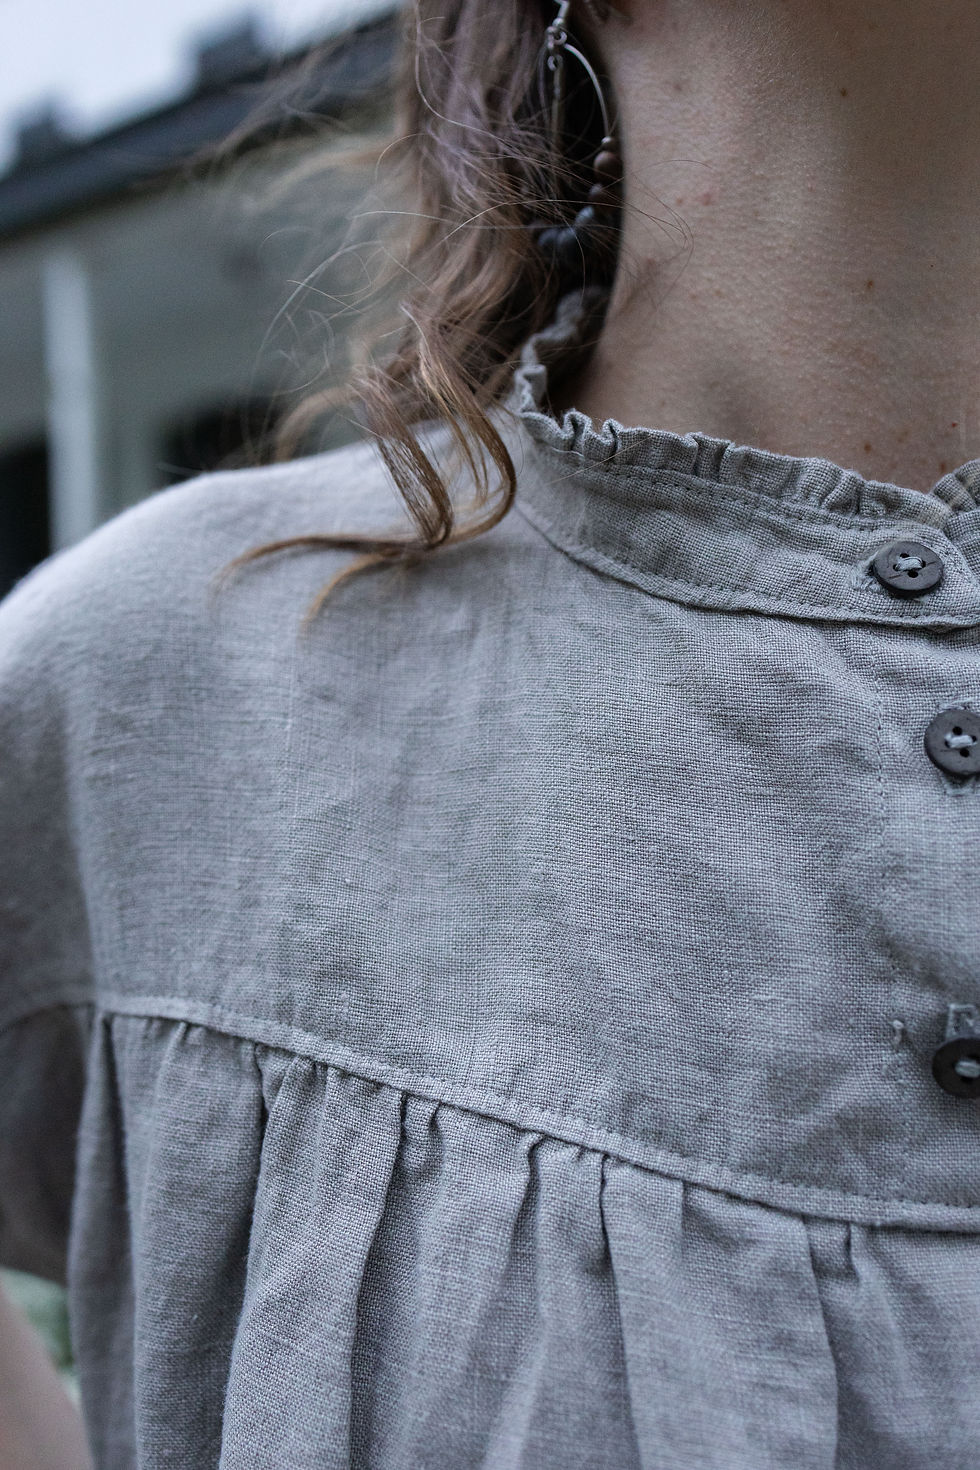
I’ve got a video tutorial that walks you through adding ruffles to any collar seam (including Finch’s), but the same method works beautifully on yoke seams, sleeve cuffs, and even hems!
You’ll learn:
How to finish your ruffled edges so they last
How to gather evenly
How to sandwich them into seams like a total pro
✨ Finch top variation idea: Try adding a ruffle to the horizontal bust seam or sleeve hem for a little extra pizazz!
3. Use the Selvage Edge for a Faux-Fray
Don’t toss that selvage strip (the edge pre-bound by the manufacturer—it’s pure textured gold.
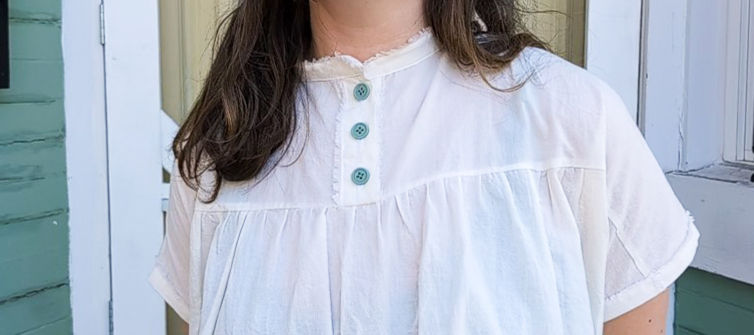
The tightly woven selvage edge of linen doesn’t unravel like the rest of the fabric, making it perfect for adding subtle lived-in dimension to your seams. I’ll show you exactly how in this video tutorial 📺 ⬇️
You’ll learn how to:
Spot a “pretty” selvage edge (some are bolder than others)
Align and attach it for max texture on your DIY linen clothing
Use it to highlight your collar, sleeve, yoke, or hem seams
Ready to try these on your Finch top?
If you’ve already grabbed your Finch pattern, I hope this inspires you to play and make it yours!
If not, the pattern is right here and ready for you to sew, hack, and wear on repeat!

You can get any of my patterns in the format that suits you best —PDF, print + video tutorial, or the full sewing kit.
Add Depth & Texture to Your DIY Linen Clothing
Have fun, get weird, and send me pics of what you make!!
💌Leah


Comments