How to sew a tiered dress using the FINCH pattern!
- Leah Widdicombe
- Jul 31, 2025
- 3 min read

🪡 Pattern Hack: Turning the Finch Top into the Comfiest Dress Ever ✨
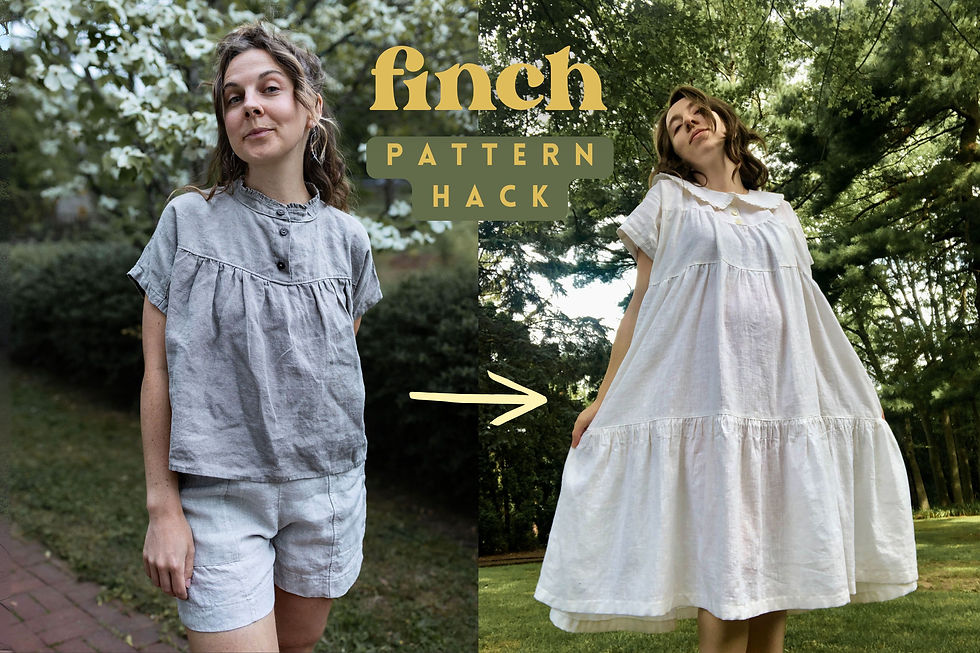
Is there anything more satisfying than turning a beloved blouse pattern into a swishy, roomy, goes-with-you-anywhere dress?
Today, I’m excited to share a brilliant pattern hack from Olivia, one of our recent Finch pattern testers, who transformed her blouse into a breezy tiered dress—and wore it happily at 25 weeks pregnant (!!!). Not only did she make it work for her changing body, but she added pockets to her 3-tier dress 😍. The best news is that it's SUPER simple!


We'll show you how to sew a tiered dress,
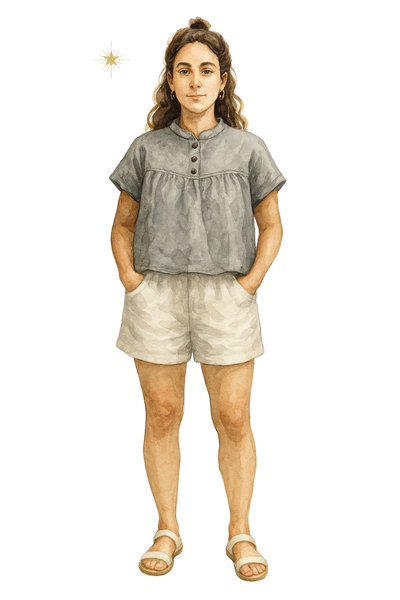
But first… you'll need your Finch sewing pattern!

If you haven’t grabbed it yet, head over to the pattern shop to snag your pdf, print, or build your own sewing kit. The Finch is designed to be endlessly customizable—with three collar styles, seven sleeve options, and a few little surprises up its ruffly sleeve. Olivia’s dress hack is proof that this pattern is full of possibility.

Olivia’s Dress Hack: What She Changed
Olivia used the Finch top pattern in a size 4 (bust 37", height 5'3") and made a few smart tweaks to turn it into a comfy, flowy dress:
✂️ Shortened the bodice:
She shortened both the bodice front and back pieces by 9", using the provided hemline measurements in the pattern instructions to confidently mark a new cut line. Then she added two gathered tiers to complete the dress silhouette.
🪡 Added gathered tiers:
Using the bell-sleeve sewing instructions as a guide for the assembly technique, Olivia added 2 tiers to the dress. They are simple shapes, just rectangles!
Tier 1: 14.5" tall × 40" wide (cut 2 — one for front and one for back)
Tier 2: 16" tall × 67.5" wide (cut 2 — one for front and one for back)
This gave her the volume and length she wanted, without overcomplicating things.
🎉 Pockets, of course!
Inseam pockets were added to the first tier, with the tops placed 3.5" below the seam where the bodice meets the first skirt tier. (This ended up being about 5.5" above the original hemline for size 4). This measurement may vary from size to size, so she simply took a dress with the pocket height she liked, and duplicated the pocket placement.
The hem:
The bottom hem was finished by serging the edge, folding up 1", pressing, and stitching.
🧵 Other thoughtful tweaks:
Added interfacing to both sides of the button placket to reduce post-wash wrinkling.
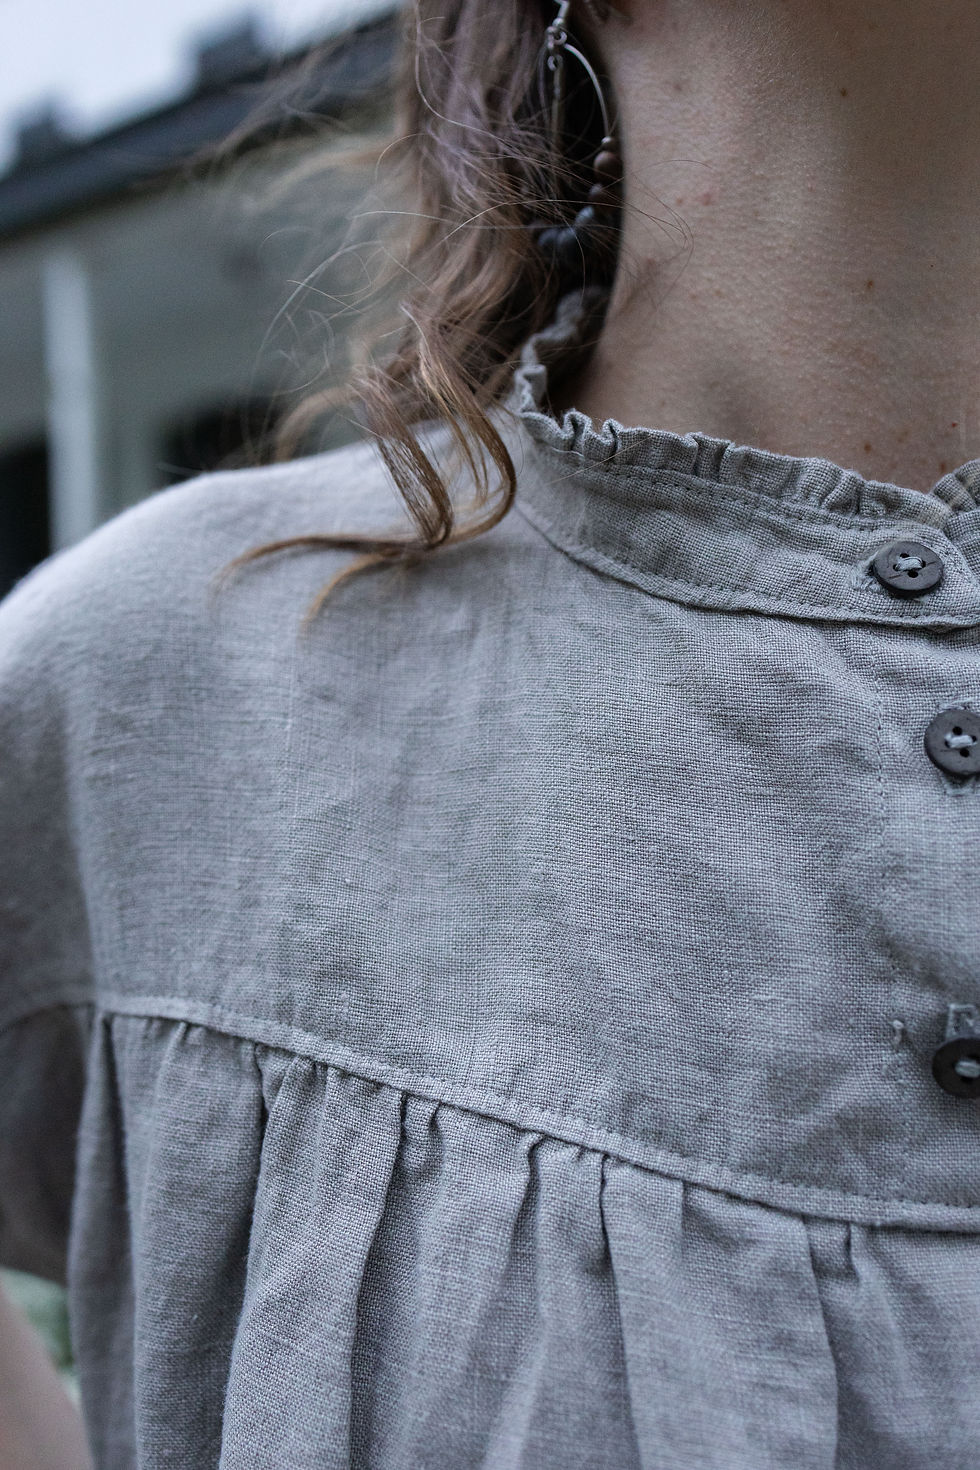
Used the Peter Pan collar variation and finished the inside seam by whipstitching the bias binding instead of topstitching for a cleaner outside look.

Olivia’s Thoughts on the Finch Pattern 💭
"Leah, this is so comfortable!! I was a little nervous about the neckline being too tight but it was perfect. Since I'm 25 weeks pregnant, I don't want anything touching my tender belly and so I'm going to be wearing this dress a LOT! It's absolutely perfect!
The horizontal gathered seam across the bust and down the sleeves is what drew me to this pattern—I've never seen anything like it before! Bias binding was chef’s kiss. You have the best instructions I’ve tried."
Olivia considers herself to be an intermediate sewist, and rated the skill level required for the Finch as "confident beginner", with the hardest part being the buttonholes (and even then, she managed one by hand with great results).
A Few Takeaways
If you're feeling inspired by Olivia’s version, here are a few ideas to get you started:
Use a drapey cotton-linen blend (she used a thrifted King-sized sheet!)
Think about how long you want your tiers—and adjust their length and fullness accordingly.
Use this pattern as a base and let your creativity (or your need for a belly-friendly outfit!) guide the rest.
Whether you’re making your first Finch or your fifth, I hope this shows just how versatile and joyful this pattern can be 😊
🪡 Ready to start stitching your own?
And if you try Olivia’s hack (or come up with your own), I’d love to see it. Tag @charliedarwin.textiles or submit a photo to the gallery!


Comments