How to Sew a Patchwork Bodice on The Argent & Sable Dress and Shirt Pattern
- Leah Widdicombe
- May 1
- 6 min read


Spice up your shirt and dress sewing patterns with patchwork! If you love the quilty look but have a fear of quilting, I promise this method is going to feel WAY easier and fun than that 😉
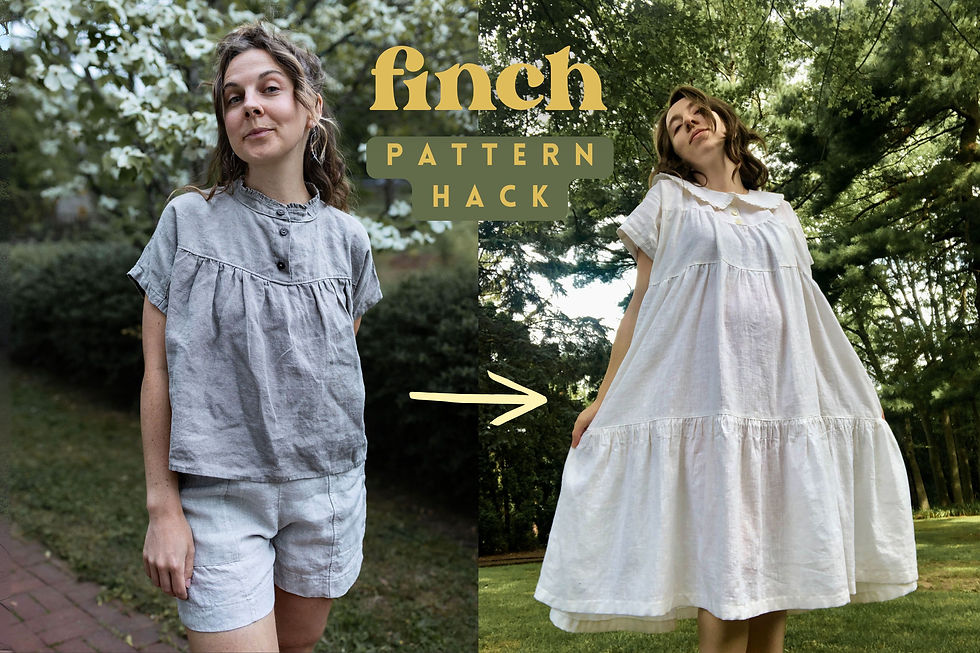
You could apply these methods to any sewing pattern, but today I'm going to show you how to sew a patchwork bodice on my new Argent and Sable tank top and dress sewing pattern. We are going to do the back bodice piece, but you could do it on the bodice front, too!
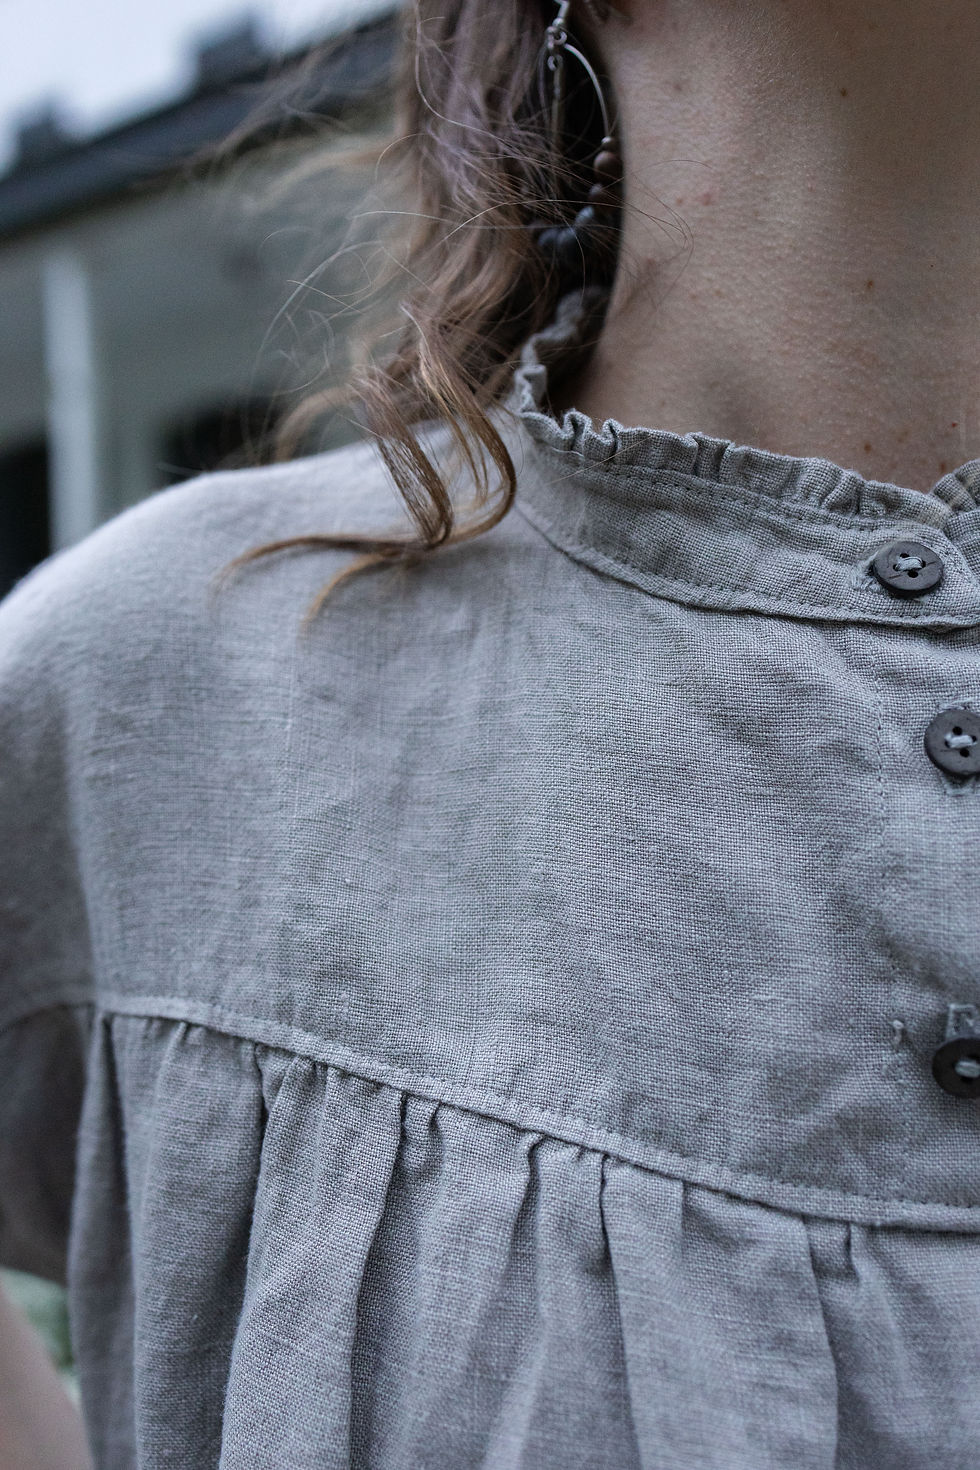
What works so well about it on this pattern in particular is that the bodice is already fully lined, which means that all of the seams from the patchwork won't be up against your skin. The lining will keep everything really nice and smooth. And we aren't going to use any batting (the puffy stuff in the core of quilts), which will keep this method light and cool for warm-weather wear!
In the tutorial today, I'll be showing you how to do a triangle motif, but you could also do a regular square or rectangle postage-stamp-style (which is honestly even easier than this if you want a truly beginner version). For plain squares, you can follow the video tutorial I made for the knee patches of my Swallowtail pants.
Now I am not a professional quilter, so you'll notice on my finished garment that the points of my triangles aren't exactly perfect! But they're pretty good, and I'm 100% happy with them :) I give you the same grace, too!
We'll go through what kind of fabrics and fusible interfacing I recommend, measurements for cutting, and then how to sew it all together. Let's dive in! ⬇️
Selecting Fabrics for Your Patchwork Shirt or Dress
Choosing the right fabrics is the first step toward a successful patchwork bodice. The Argent and Sable pattern works well with a variety of non-woven fabric types, but some choices will enhance the effect and the garment’s overall look.
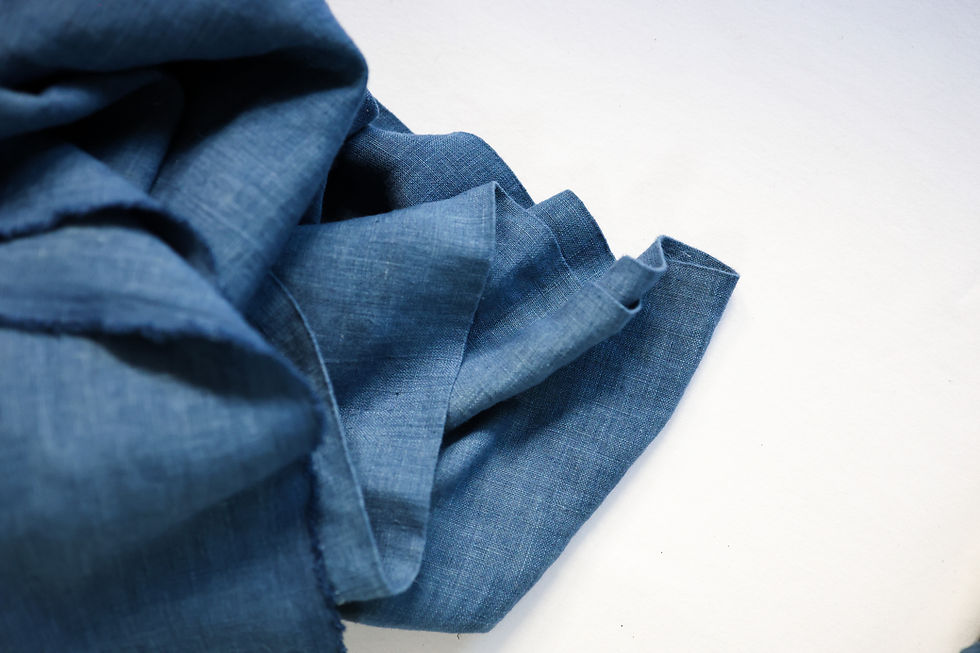
Outer Fabric (that we'll be piecing together): Look for medium-weight (4-6 oz/yd²) NON-STRETCH fabrics such as cotton, linen, or lightweight canvas. These fabrics hold quilting stitches well and provide structure without being too stiff. Do not use anything that can't handle a very hot iron!
I use 100% linen fabric (5.3 oz/yd²), plant-dyed. You can purchase 1/2 - 2yd remnants of it in many rich earth-tones, over on my site! 👉
You will need about 10-20" per color, depending on your fabric width and pattern size.
Fusible Interfacing: I use Pellon PLF36 Fusible Interfacing (but any lightweight or featherweight fusible will do). You don't technically NEED fusible interfacing to achieve the finished look, but the way I use it makes the process significantly easier!
The calculator below will tell you how much you need.
Lining Fabric: I use the same lining fabric as my outer fabric. But you could do something different. Just select a smooth, light, or midweight fabric that does not stretch and feels good against your skin.
Thread: I use Gutermann 100% cotton thread, but a polyester thread can work too. A thread from the 1970s or earlier is likely too weak to hold up here, so maybe don't raid grandma's old stash.
When selecting color combos, consider working within a refined color palette. You can see some of my color palette inspo on this Pinterest board.

Preparing your fabrics
Pre-wash and dry all fabrics to prevent shrinkage after sewing.
Press fabrics before cutting to ensure accuracy.

Measurements & Cutting
Lots of math can be done if you want to deviate from my design. But to keep things simple, I am going to assume you are making the triangle motif at the same scale as me. And we'll use a plug-and-play calculator (below) so it works with your custom pattern size.
Measure the paper pattern piece that you are going to be using; get the full length and width measurements at its widest/tallest points. If you are going to make any height adjustments using my height adjustment calculator, do those FIRST. Pay attention if things are cut on the fold!

My example: The A&S bodice back piece, when cut on the fold, in my size (1), after adjustments are made for my height, is 15"tall x 18.7"wide.
Plug your numbers into this calculator ⬇️. The first output is how many squares (we'll call these Mother Squares) you need to cut total, at 9.25" x 9.25"(23.5cm x 23.5cm). If you are doing 2 colors like me (light and dark indigo), then you will want to cut half the squares in one color, half in the other.
Example: my calculator output is 6 squares, so I will cut 3 in light indigo and 3 in dark indigo.
The other two dimensions are for your fusible interfacing. We will need these later.
The nitty gritty of what this calculator is doing...
Our finished squares (once all the pieces are sewn together with 1/2" seam allowance) will be 3.75"x3.75". You need to calculate how many squares you will need to fill the space of your pattern piece.
My example: 15"/3.75"= 4
18.7"/3.75" = 4.986 (always round UP!), so 5
I will need 5 columns by 4 rows, so 20 total finished Baby squares.
But we are going to cut fewer squares than that to start. We are going to cut Mother squares that will make 8 baby squares each!
My example: I will have to round up, and need 3 Mother squares of each color (because 20/8=2.5, rounded up to 3).
Cut your Mother squares at 9.25" x 9.25".
Cut out your Mother Squares at 9.25" x 9.25" (23.5cm x 23.5cm), on the grainline (aka parallel to the selvage edge).

Sewing The Triangles
Place pairs of 2 binary colored Mother Squares together, right sides facing, edges aligning.

Draw a line center vertical, center horizontal, and both diagonals from corner to corner.

Stitch the squares together, a scant 1/4" from each side of your diagonal lines (4 lines of stitching total). Backstitch at each end.

Cut through the vertical and horizontal lines.


Cut through the diagonal lines, between your stitching lines.

Press the triangles open into squares (we'll call these Baby Squares), pressing the seam allowance to one side (stay consistent with which side/color you press it to).

Arrange Baby Squares on Fusible Interfacing
Cut your fusible interfacing to size. The calculator above should have given you the dimensions you need. If what you have on hand isn't large enough (like mine wasn't), you can combine multiple pieces by slightly overlapping them by about 1/2".
Lay out your fusible interfacing with the glue dots facing UP!! (very important).
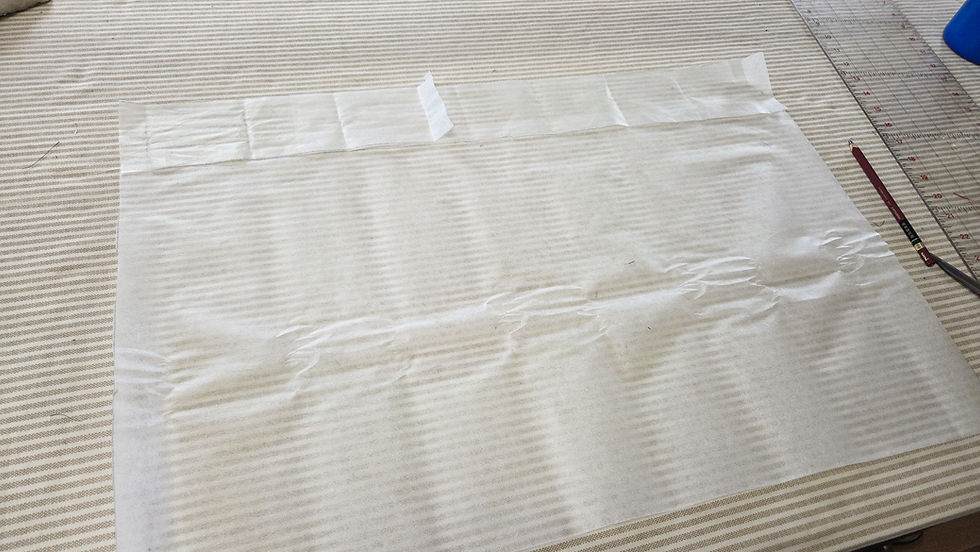
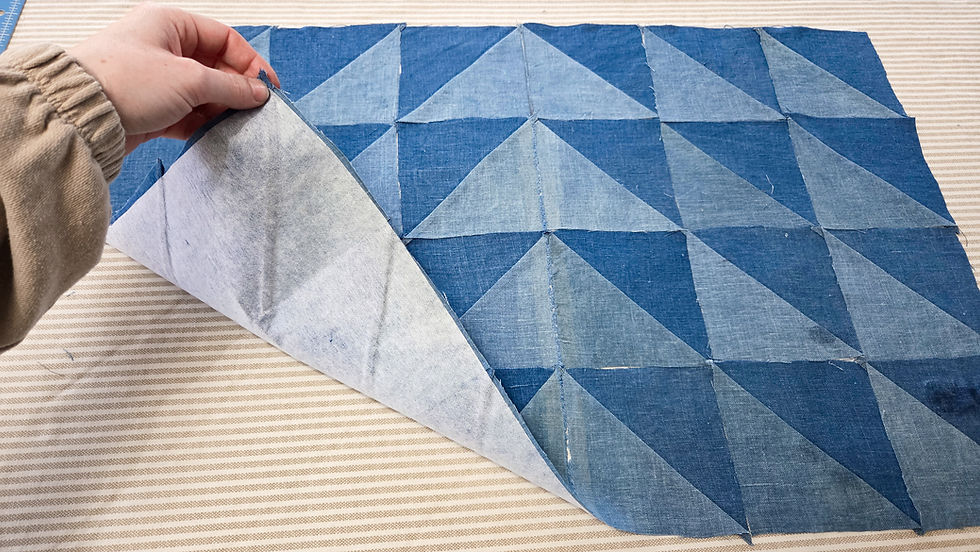
Arrange your Baby Squares on the fusible interfacing, with all of their raw edges making perfect rows and columns. They should fit exactly inside the rectangle of interfacing.
I mirrored my design along the midline, so that the right-angle triangles created isosceles triangles in the center.


Press with your iron to adhere the fabric to the fusible interfacing. Use lots of steam or a spray bottle. Press your iron down, one spot at a time, not sliding it around, hold it in each spot for about 7-10 seconds. Repeat this until everything is flat and adhered.


Sew Columns and Rows
Fold the far right row of Baby Squares toward the left, fabric RIGHT sides facing.

Stitch 1/4" away from the folded edge. Backstitch at each end.

Repeat for the rest of the columns.

Trim the seam allowance of each column down to about 1/8", but be careful not to cut too close to the stitching.

Press the seam allowance of each column to the side (you pick the direction, just be consistent!)
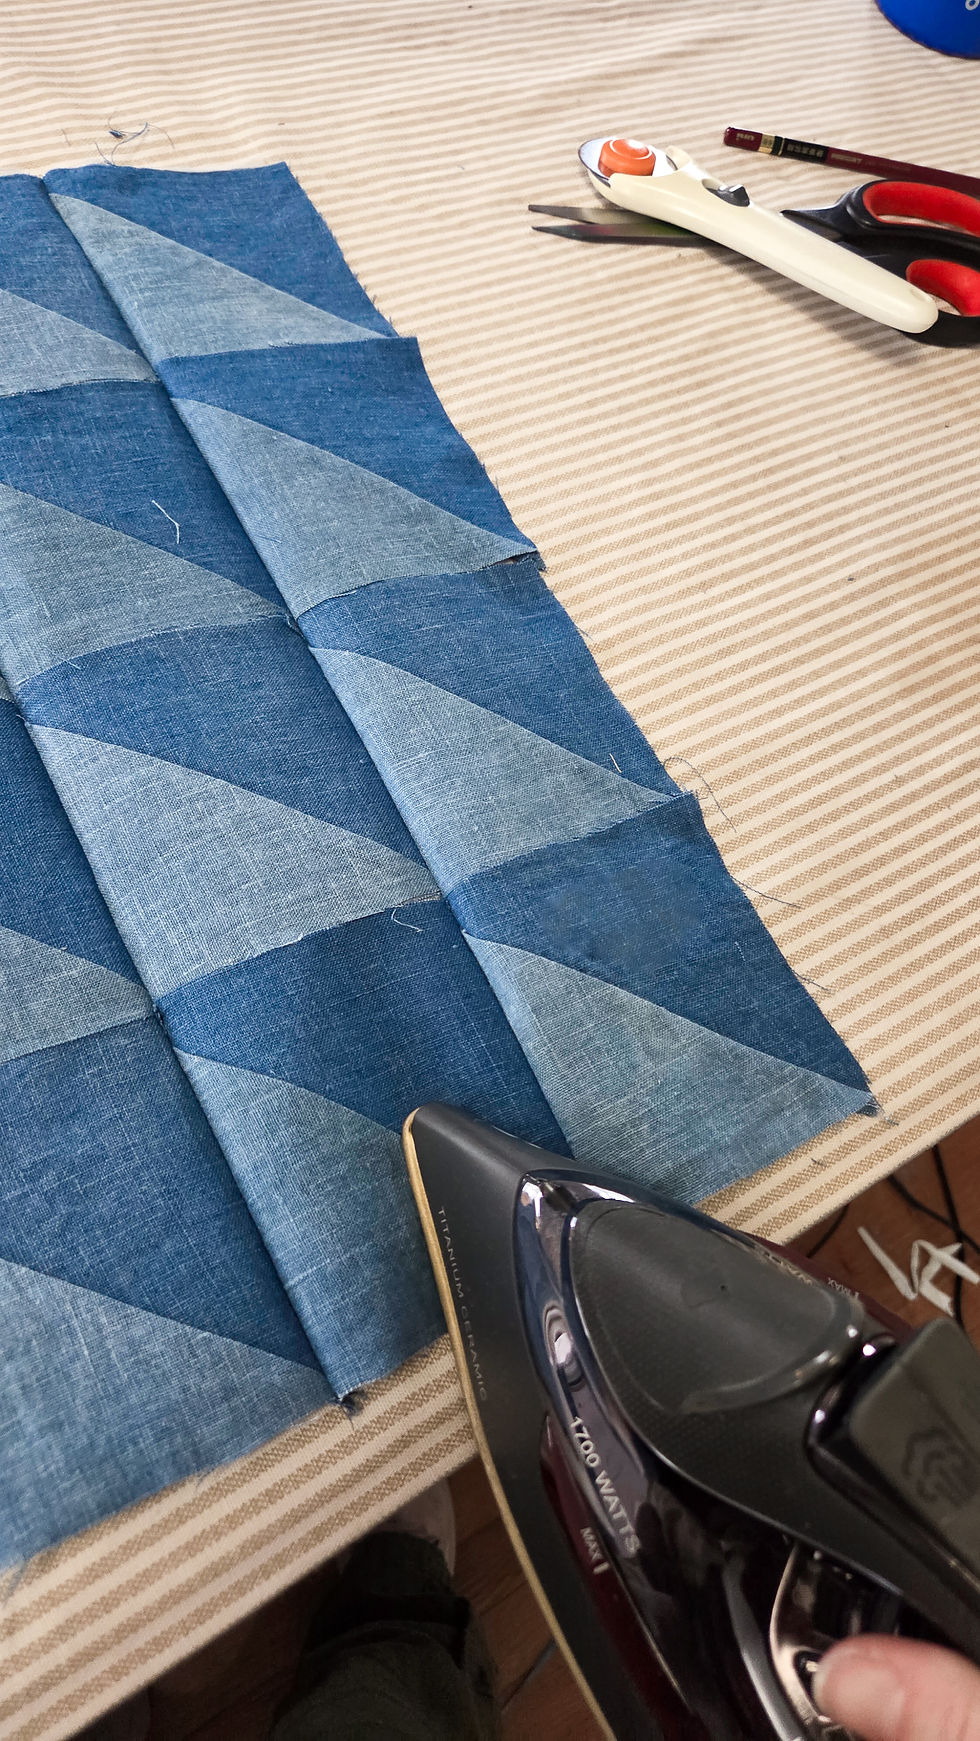

Repeat steps 1-5 for the rows. Notice how I feed it through my sewing machine with all of the column seam allowances pointing down, so they flow well with my presser foot.


Trim the seam allowance of each row to 1/8".

Press the seam allowance for each row in one direction.

Cut Out The Pattern Piece!
Align your pattern piece how you'd like it positioned on the design. I aligned the center fold of the bodice back with the center seam of my center triangles. Trace & cut!


You are welcome to add top stitching to reinforce your seams. However, I quite like mine as is (and never have any issues with it laying flat or coming undone after washes).
Bringing Your Patchwork Shirt Pattern to Life

The quilted bodice you create with the Argent and Sable pattern will add a distinctive element to your garment that is really rare to find in stores! Because we used linen and no batting, this method gives us a fun quilty look that stays cool for warmer-weather garments.
Plus, the pattern’s clear instructions and adaptable design mean you can customize your bodice to suit your style.
If you want to try this out, consider purchasing the Argent and Sable sewing pattern. It provides detailed guidance and pattern pieces that make the process straightforward and genuinely enjoyable!

Comments